This article was originally published on Botium’s blog on August 23, 2021, prior to Cyara’s acquisition of Botium. Learn more about Cyara + Botium
We’d like to believe that we have made an impact on the conversational AI market with our long-valued partner, Artificial Solutions, and their platform Teneo, by supporting each other to perfect the development and the testing of all chatbots out there!
To make sure that everyone has a chance to build well-functioning chatbots, we have integrated a Teneo connector to Botium, to boost your chatbot building experience with automated testing. In this article, we are going to introduce some handy tricks on how to use the two platforms together to create a superb chatty robot for your customers. But first…
What is Teneo?
Teneo is a Conversational AI platform that allows business users and developers to collaborate and create a wide range of sophisticated conversational AI applications that automate the customer journey while increasing engagement through humanlike, intelligent dialog. It is delivered as SaaS and provides enterprise-ready features like version control, dev-, QA, and prod endpoints for multiple solutions per default, scaling based on traffic volumes, auto-test, advanced dialogue management, conversational data analytics, and much more. With support for 86 languages, front- and backend connectors, all backed up by our Customer Success team ready to help, Teneo is the only core conversational platform you will ever need.
How do I get started with Teneo?
If you have previously built with Teneo, you can skip this section and get started with testing your solution with Botium.
If you are new to using Teneo, the first thing you need to do is register to get a free sandbox environment at developers.artificial-solutions.com. To get your first solution up and running you can follow the following tutorial: https://developers.artificial-solutions.com/getting-started/your-first-solution. After you have your solution running you move on to testing with Botium.
Get going!
The first step is indeed to log into your Teneo Studio and make sure that you have published the chatbot you’d like to work with. Once you have accomplished this step, you will get a URL that opens the chatbot you have built in a sandbox environment. After that, your Botium Box account is waiting for you to set up the first smoke test.
Regression testing is done to make sure that the new deployments or changes in the conversation flow did not have any negative side effects on the existing functionalities. It is nothing but a full, or partial selection of already executed test cases, which are re-executed to ensure existing functionalities work fine.
In this test type, Botium is actually testing directly against Teneo, directly against the NLP engine in use, or bot-building platform. This is the advisable starting point for testing conversational AI.
Why? On API level, you can execute enormous test sets in just a few seconds, so the most burning problems will occur at this point. One important difference between traditional Software Testing and Chatbot Testing is the size of the test sets. Talking to a chatbot usually has no barriers (button-based bots are exceptions), as the user can say anything to a bot. This peculiarity might result in infinitely large test sets.
You start by selecting your chatbot channel in our Quickstart Wizard. There’s a card including the logo and description for every technology. Botium supports more than 45 technologies and one of them is Teneo, of course.
So, go for it!
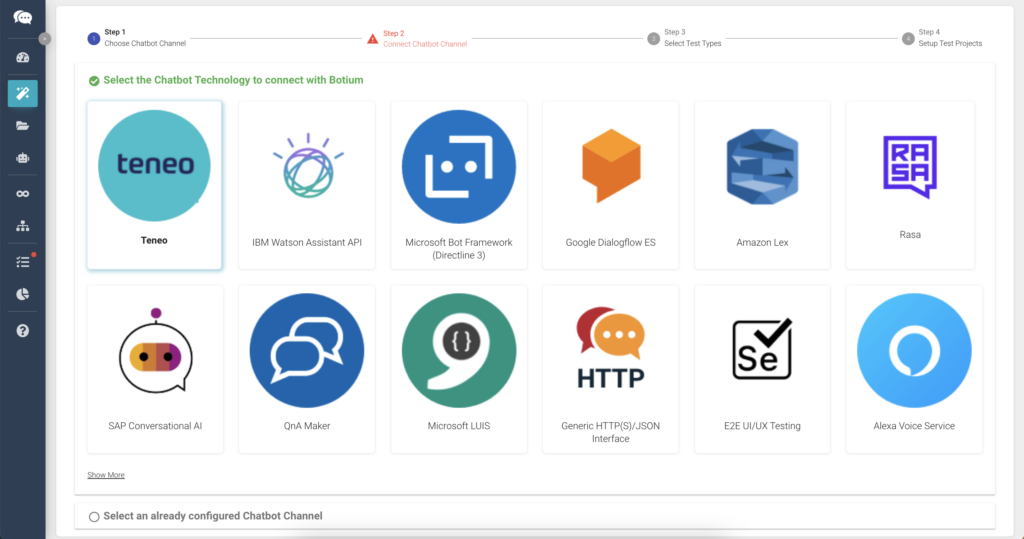
Once you have chosen the Teneo channel, you will need to copy the URL from Teneo Studio to connect to your chatbot. It is rather easy to check if the credentials and the connection have been set up, as you can simply say hello to your chatbot, and receive an answer in case everything is working fine.
In the next step, you can lean back and let Botium Box do the work for you. Meaning that our Box will identify all possible test types for your chatbot and in addition create tests for it automatically. You just need to press next and the tests will be executed.
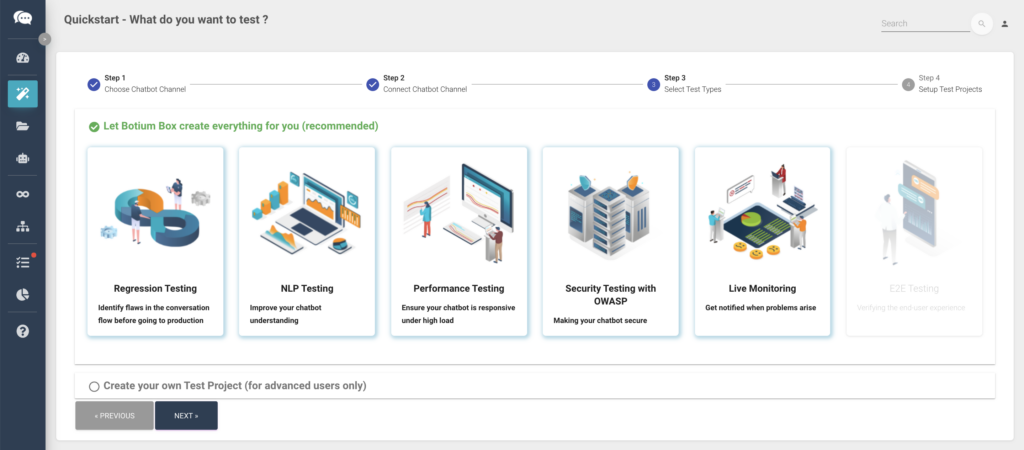
Or in case you just want to do a quick smoke test, you can also use the visual test case editor to compose some tests.
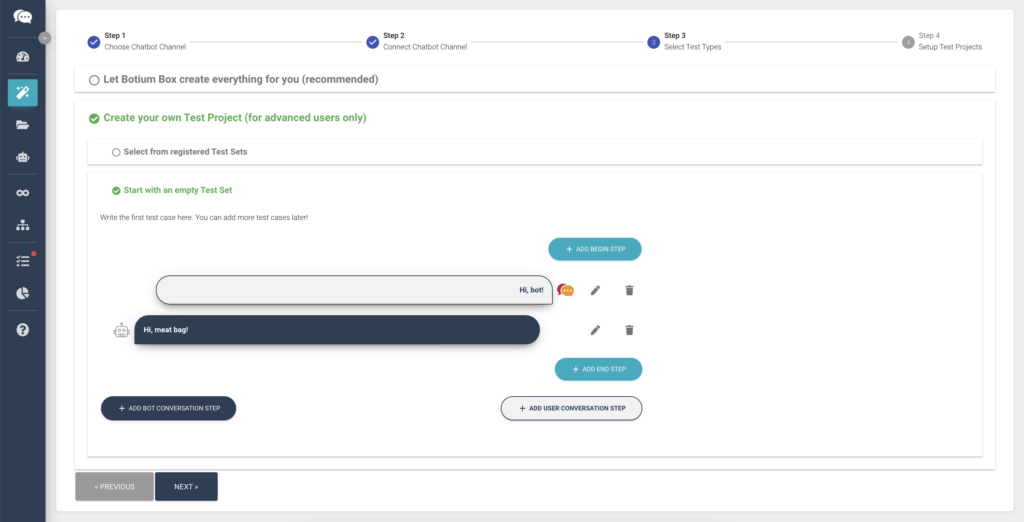
Be familiar with the capabilities of your chatbot. Before composing your test, you must be aware of the limitations of your bot, the intents it should recognize and the structure of the conversation flow behind it.
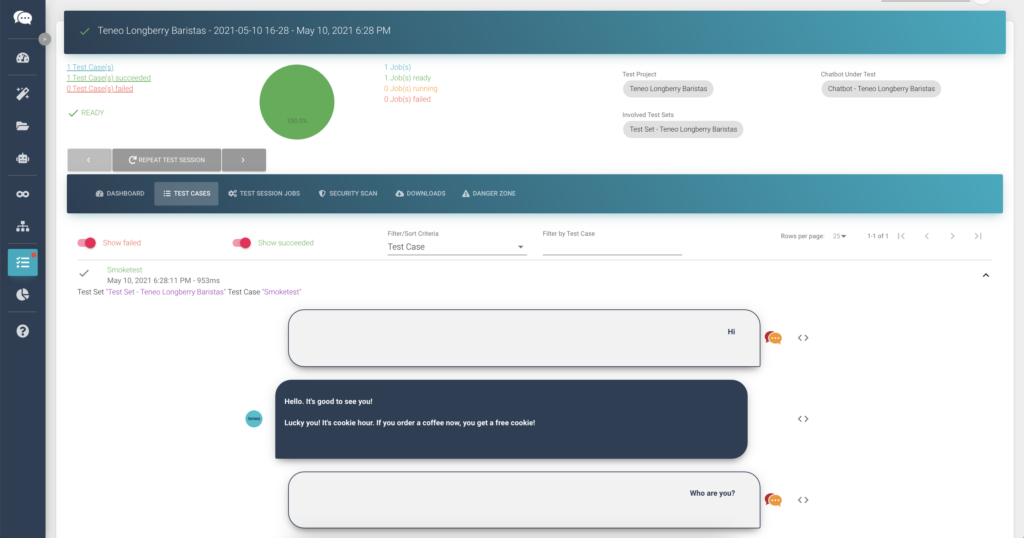
In this case, we know that the demo Barista bot we are currently using is a funny folk and can tell us some jokes. So, we can just simply ask him to entertain us. You can basically send every request to the bot in clear text, using the visual test case editor. No coding or scripting is required. The same is valid for the bot answer. You can assert for every possible reply, no matter if it’s just text or more fancy stuff, like cards, carousels, buttons, voice, etc. We save the test project and execute the tests by hitting the start session button. You have about enough time to take a sip of your coffee until the results arrive on the test cases tab.
If the bot replies as expected, then everything is green, the test passes and we get back the joke expected.
CI/CD Pipeline integration
To take things from here one step further, we can easily integrate the tests in every continuous integration and delivery pipeline. For every single project created in Botium Box, we are also generating a webhook, curl, and CLI command that can be triggered from your pipeline.
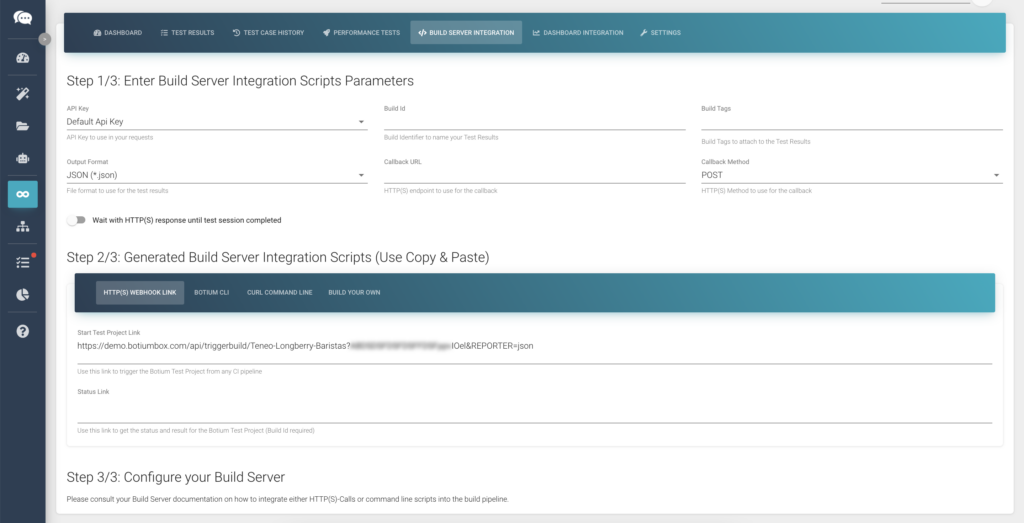
What’s the benefit? Whenever you do a commit or any changes in your conversation model or your UI, you can trigger your test project. To showcase this solution, we are using Jenkins, but it is working with every pipeline orchestration tool.
In Jenkins, we create a new item. Click on the freestyle project and define when to execute the tests. Our suggestion is to time these tests when the git repository gets changed, but you can also just add (with cron expressions) a specific time slot. The last thing we have to do in Jenkins is to add a build step. Therefore we could just say execute a shell command and so we go back to our Botium Box and copy the generated curl into Jenkins. Apply and Save! This means that from now on, these tests will be executed (in our case at 8:30), with the results being delivered both back to Jenkins and Botium. This small smoke test is of course far away from an entire regression testing, where we need to cover all possible paths through our conversation model, but a great start!
Let’s take things further with E2E testing
Let’s emphasize our efforts to make test automation fast and easy. For E2E testing we go through our Quickstart Wizard again. As usual, we select our chatbot channel, the test type E2E testing, compose or choose our test sets and tell Botium where to run the tests E2E.
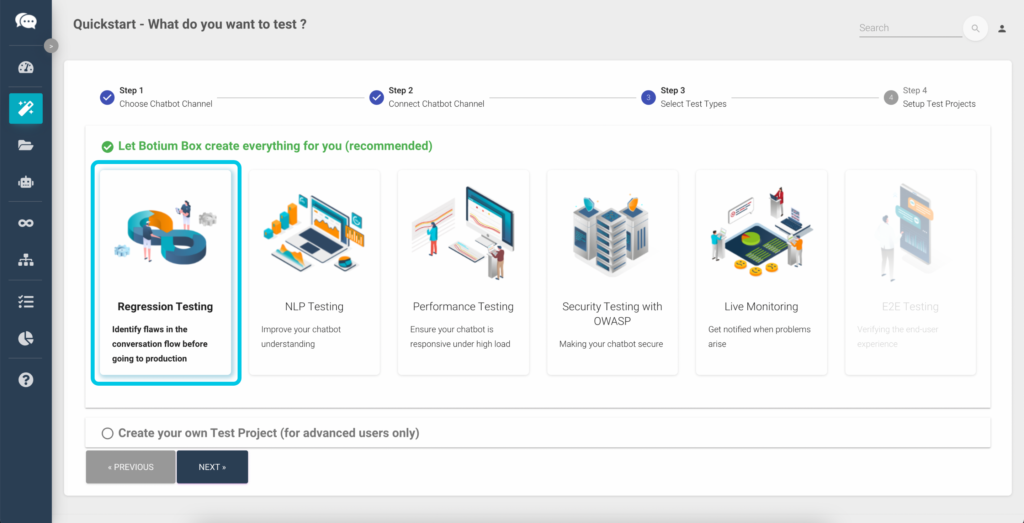
The main purpose of E2E Testing is to test from the end user’s perspective by simulating the real user scenario and validating the system under test and its components for integration and data integrity.
You can run these tests in Botium against a browser farm to test all your preferred browser types and versions in parallel. Or, against a device cloud provider, to test on all your clients preferred smartphones and tablets. Botium Box integrates with major device cloud providers. Or, for a simple smoke test, it might be already sufficient to use the headless Chrome included in Botium Box. To shake things up, this time we show you how you can compose tests by recording your own voice. After finishing the Quickstart Wizard, Botium Box will open a live chat session. After you have a conversation with your bot, you can just save it as a new test case and execute them anytime you want. Botium also takes screenshots of the conversation, enabling you to have a look at the chat happening in the real environment.
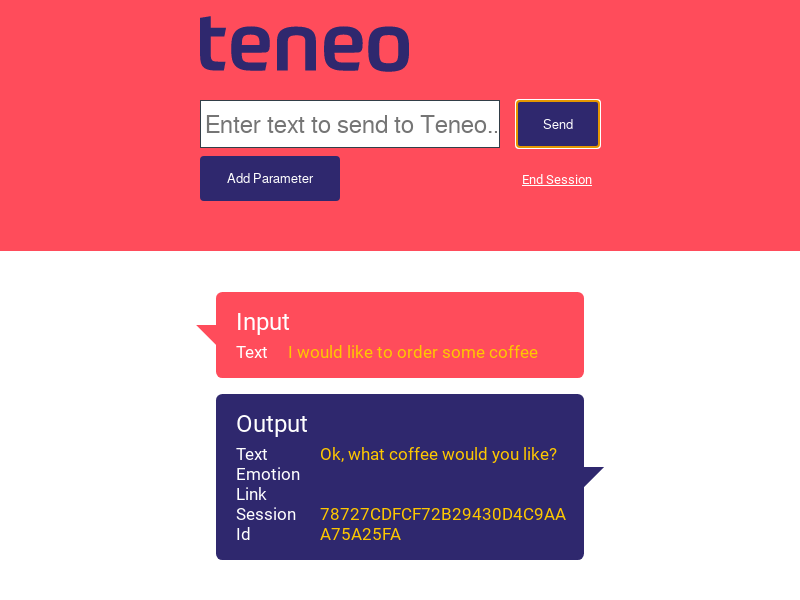
To run the tests E2E, Botium Box will use Selenium and Appium in the background. In spite of that, you don’t need to write a single line of code. Botium will generate all the tests based on your chat recording.
You can watch the full webinar about this, here.